After a round of job applications and interviewing, I've decided to move my attention to something more productive. As I've noticed expressing interest and wanting to learn about graphical programming, is not a very proactive course of action. As such, I have spent the past week-ish looking into shader programming.

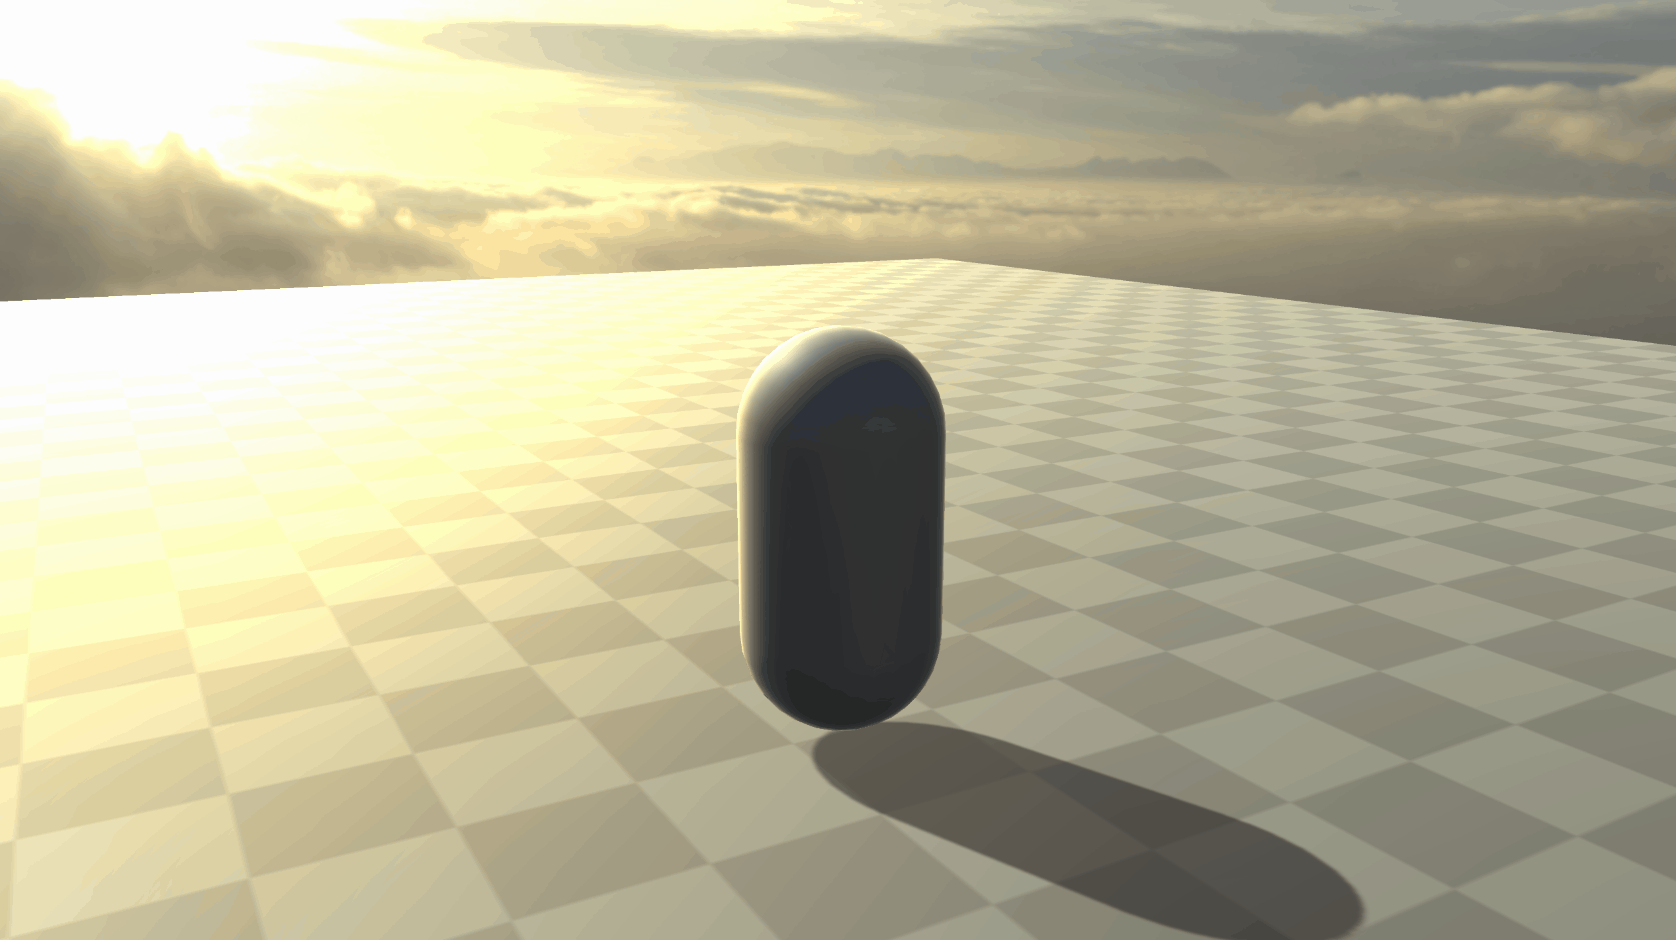
Here is a pretty screenshot for ~The Thumbnail~.
The beginning.
So let's start at the very beginning. I am evidently, quite powerless without the niceties of the shader graph. I started with some unlit shaders, I did what I could to learn the basics, following a unity endorsed hologram tutorial I created this hodge-podge below.
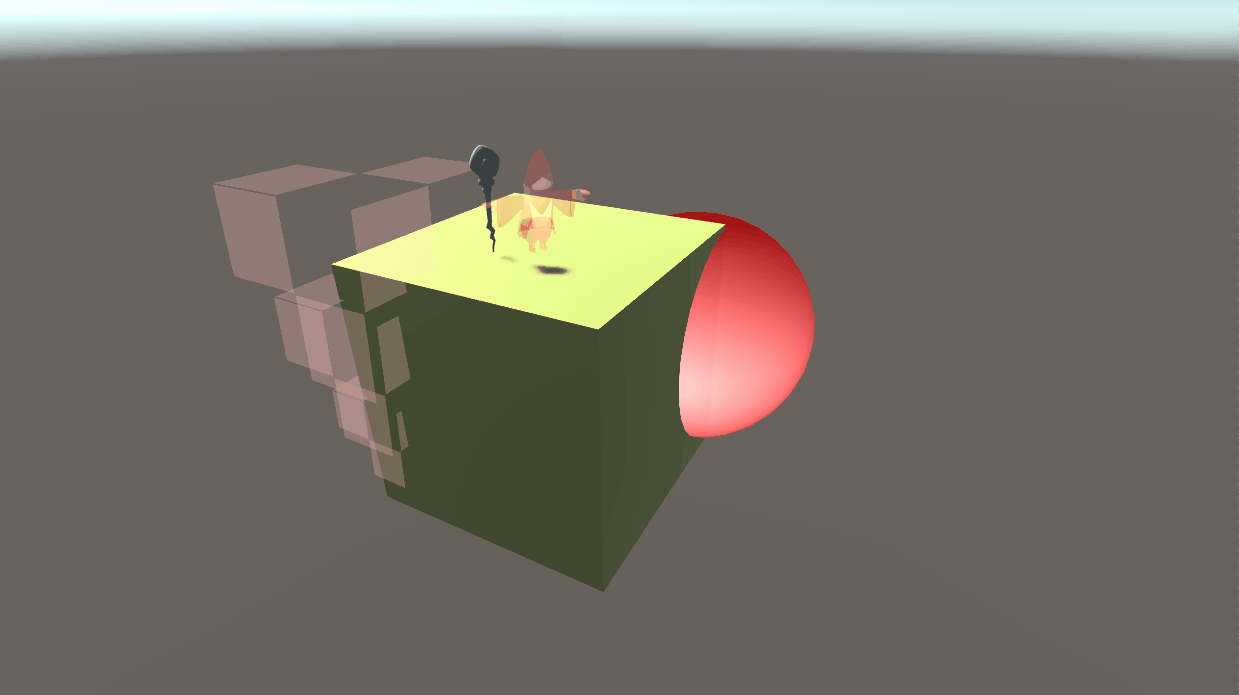
Yeah it's no looker, but here I learnt about tags, rendering passes, the general order of operations and what part of the unity renderer does what. At this stage, I was figuring out the syntax itself, you really feel the lack of IntelliSense and the general quality of life coding in C# offers.
The code itself is obviously quite unexciting. My comments serve to display my attempts at figuring the system out. "oh so this is where the vertex data is handled", "modifying this will do this". etc.

I did, however, already have a few ideas on how certain things could be implemented, let's have a look at that.
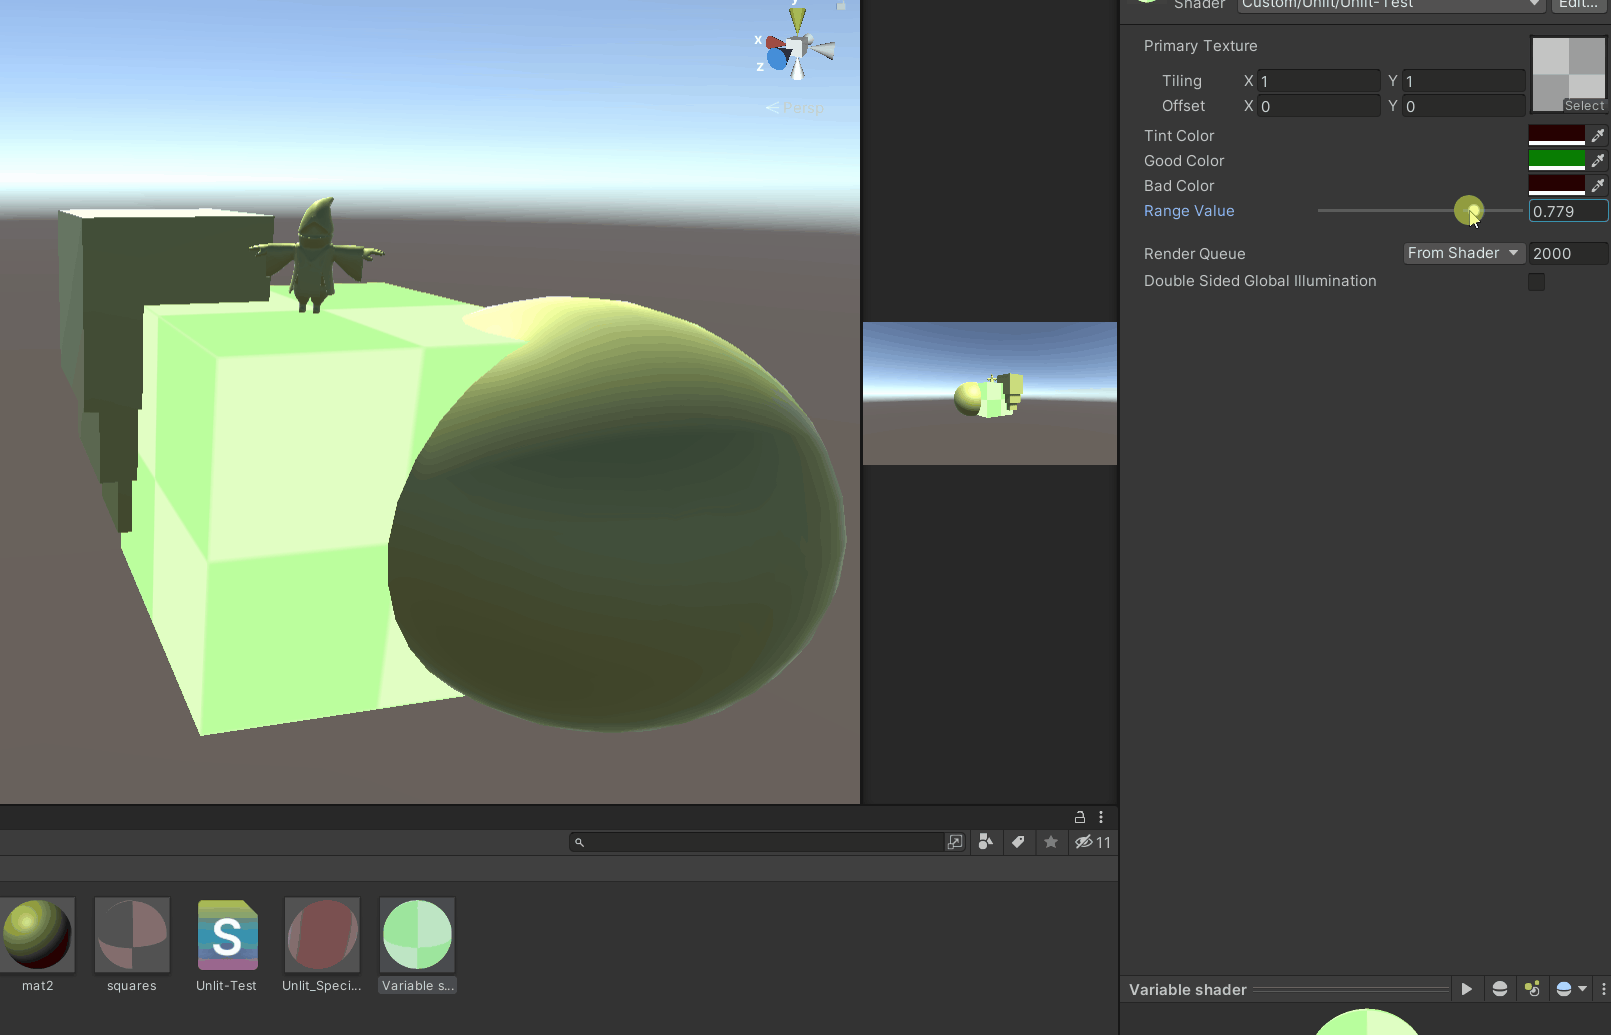
How thoroughly basic. So what's the idea? Well as you can see, I have given the shader a value, a range between 0 and 1. When the value is 1, it will tint the object a "Good" colour. When it is 0, it will tint it a "Bad" colour.
The "range value" itself has its own fun little double meaning, as I intend to utilise this effect to create a range evaluator! It is a simple idea that lets me focus on developing my shader code over prototyping gameplay too hard.
A Diversion !!!
Now before I pushed this concept further, I desired a deeper understanding of HLSL's capabilities.
To achieve this I studied through one EXTENSIVE little guide.

A paper on GPU raytracing in unity. It was complicated beyond my understanding, but it was thorough beyond thorough. It explained everything it was doing, and my grounded education in software development allowed me to keep up to a sufficient degree.
Now what I noticed while going through this paper, is just how difficult it can be to debug shader code. It's hard to know where to look when you are new to HLSL and compute shaders. The last thing you want to see after 2 hours is this:

But I got there in the end.

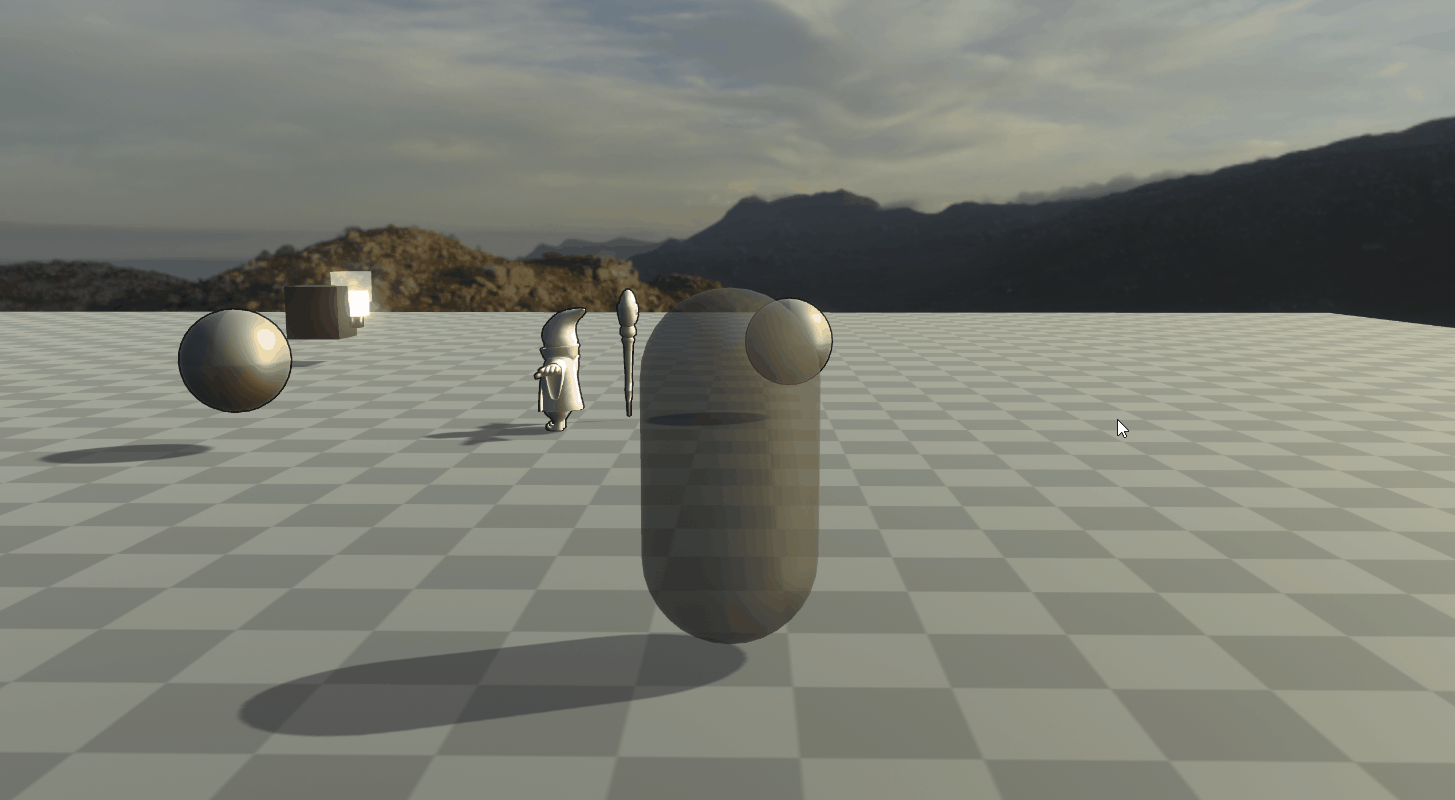
So what do we have here? Well mostly a headache. The code constructed here is using a compute shader to draw to a render texture, by casting rays into a scene for each pixel of data. I'd realised I had taken myself on a deathly tangent when I wasn't working with unity objects anymore, but instead, defining spheres in code using a Float3 world position + a radius.
To be honest. I don't particularly want to talk through the intricacies of ray tracing. It's interesting stuff for sure, calculating bounces taking away a specular value to tint the objects, through trying to understand stuff that is keenly beyond me, I leant more about the utility of stuff I could understand. I also found a really nice skybox you'll see me using moving forwards.
If you would like to see the blog I followed through, it can be found here. http://blog.three-eyed-games.com/2018/05/03/gpu-ray-tracing-in-unity-part-1/ my code rarely differs, I simply worked through it as slowly as possible in order to gain as much understanding as possible.
After messing around with these shiny little marbles for... far too long... It really was a ton of fun... I saw it fit to move on:

To summarise: Learning about compute shaders did not go in the direction I expected. I came looking to make some pretty material simulations, and instead learnt about threading and offloading tasks to the GPU. These fun little compute shaders can be used to offload any CPU intensive repetitive task to the GPU to be performed in parallel, and this has me just itching to start studying and writing up some procedural generation code. Maybe you'll see that in a few blogs time... I already have a few leads to follow with marching cubes and such.
Back to my own shaders:
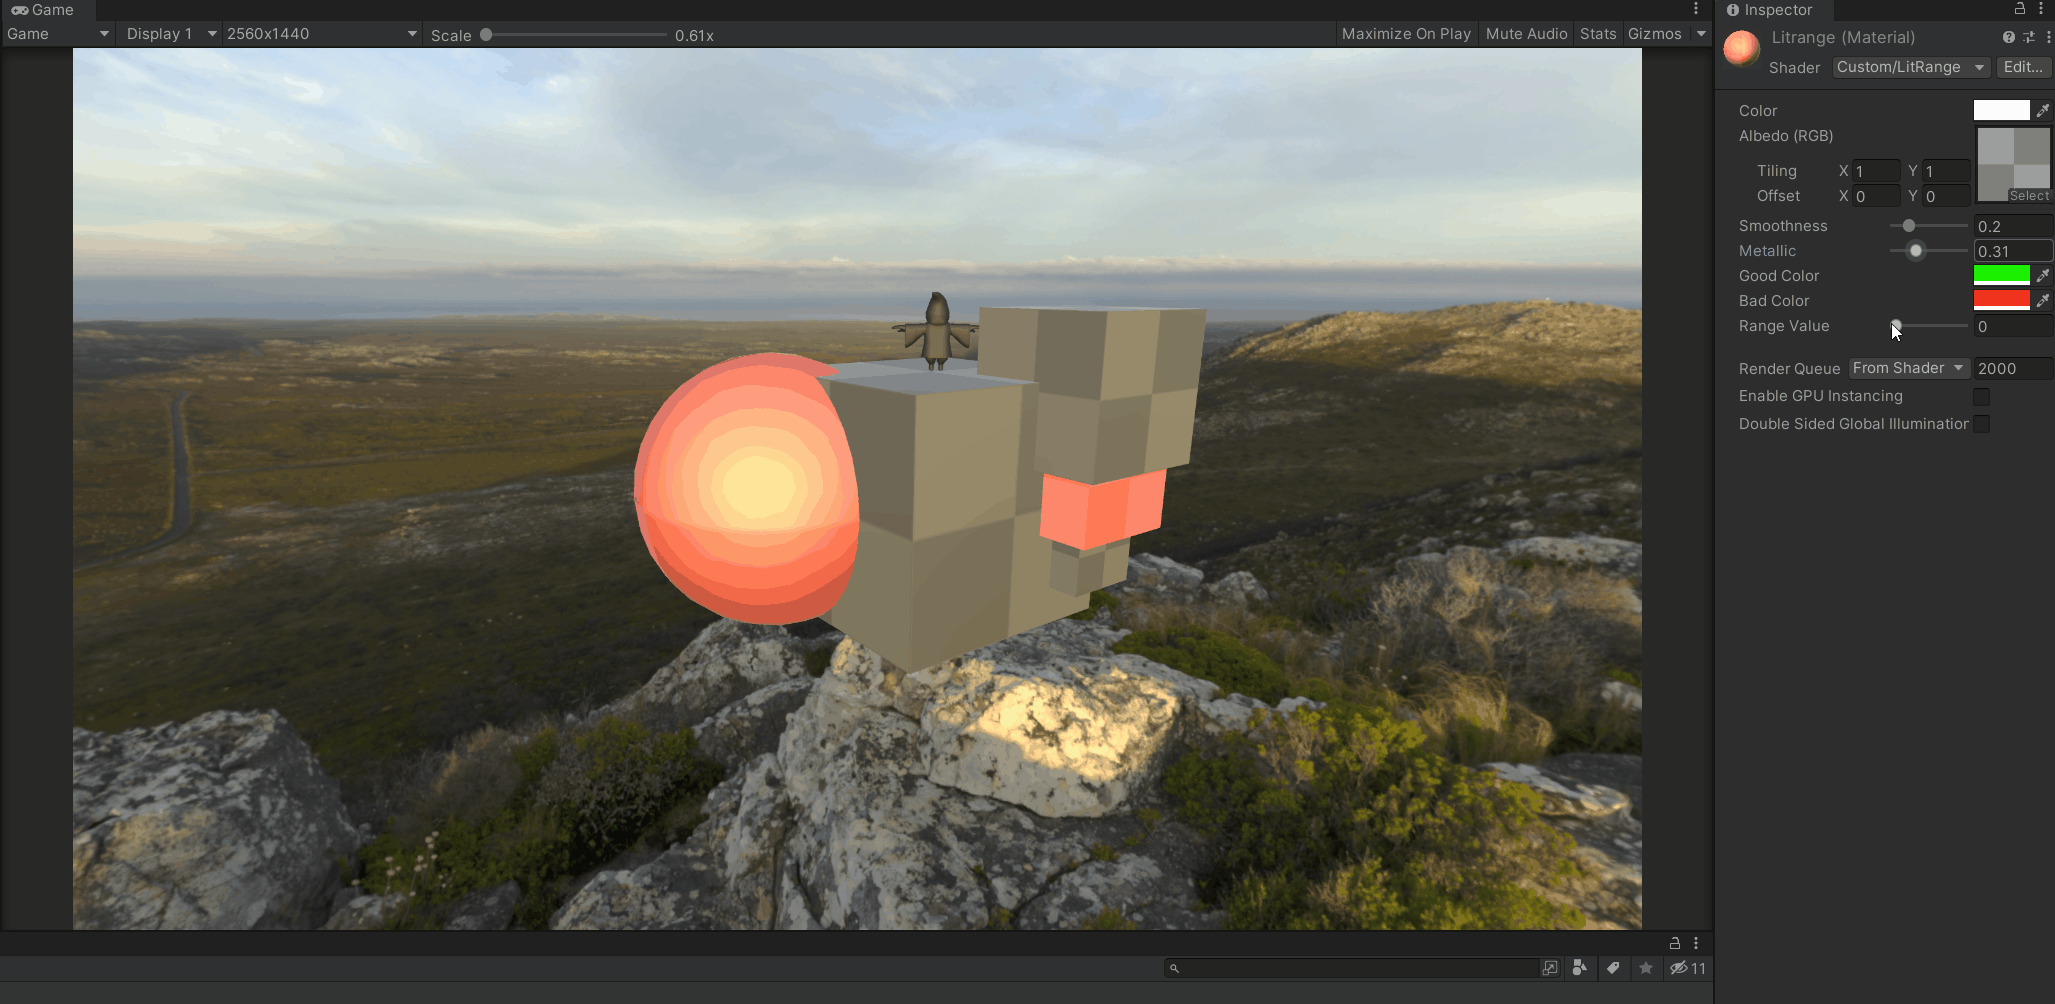
Okay I know what I'm doing, lets plug my code into a lit shader, those lighting-less objects were searing to the eyes.
The plan here is to make the object change from green to red, as a player moves further away from a defined perfect distance... Sorry pre-emptively if this gets hard to read...
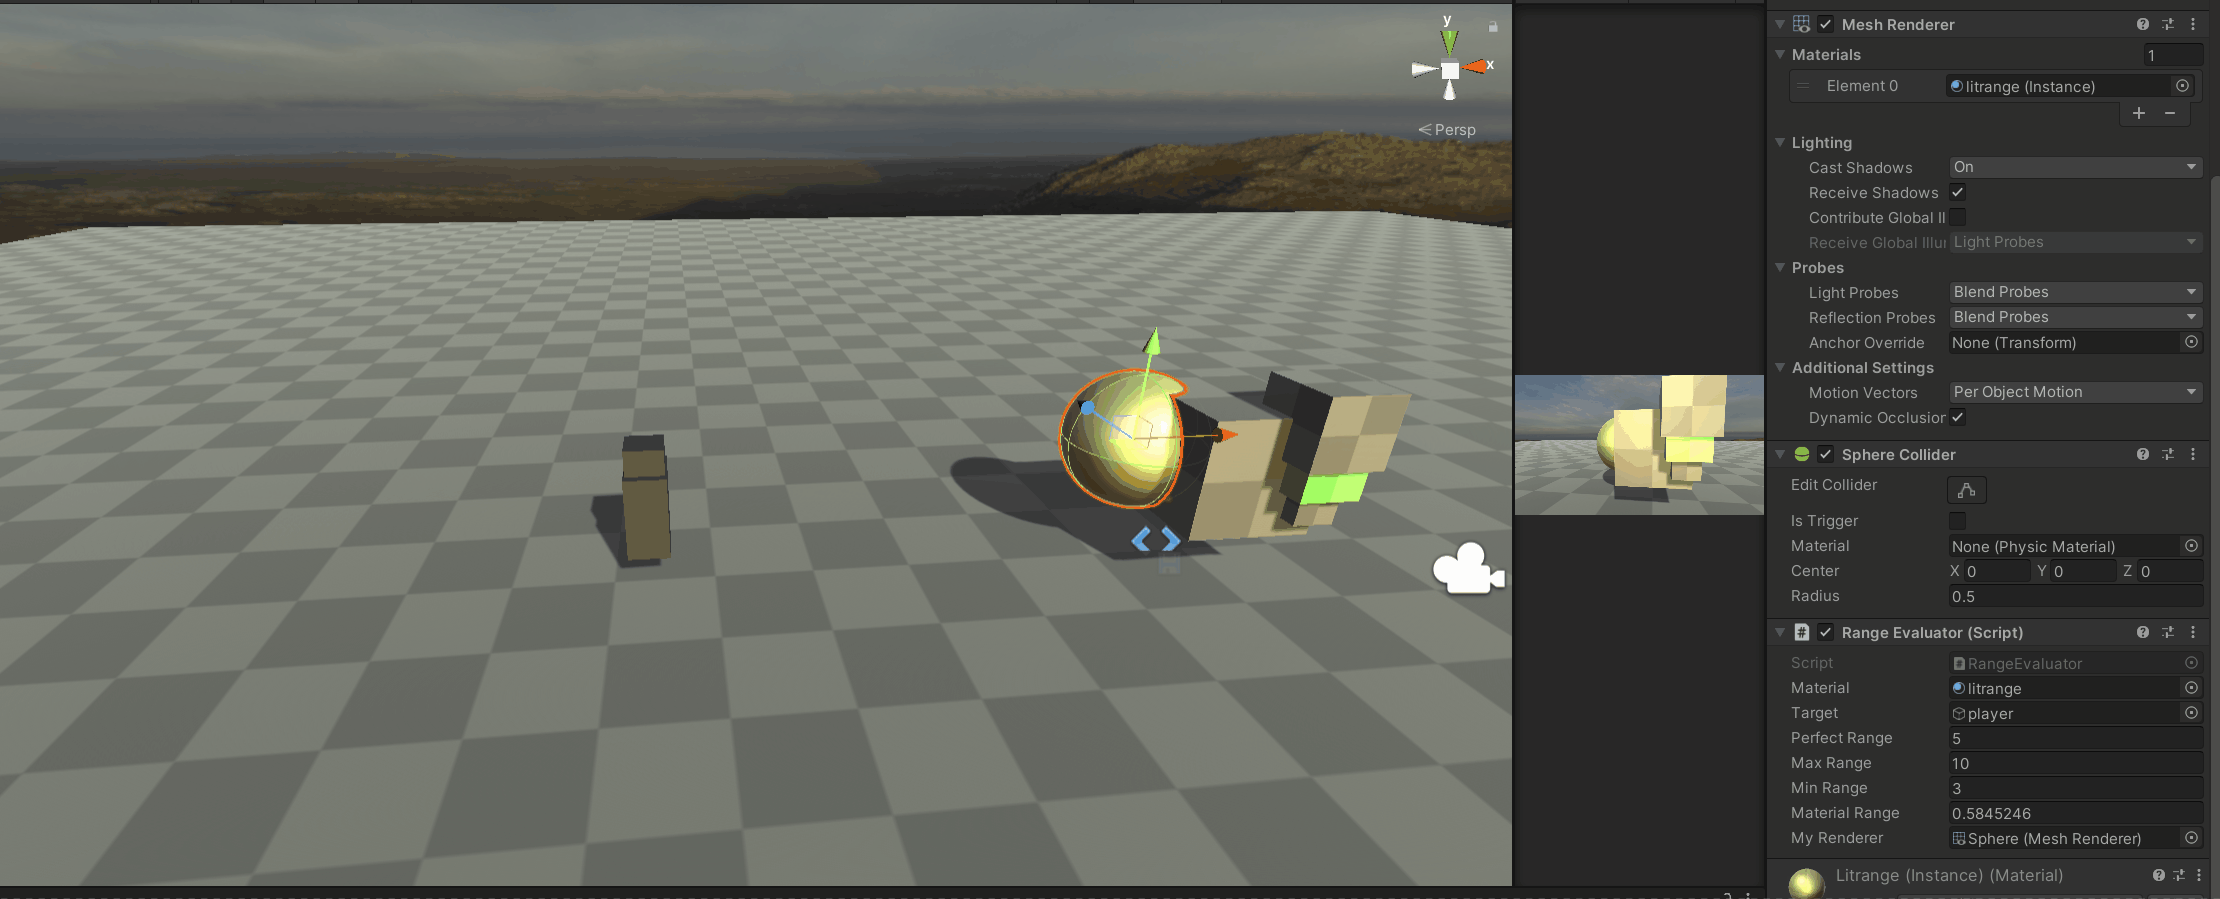
So to create this, I'll do most of the work in a C# script:
First: I'll need to create a new material, based on my original material. Why? So that changing this object material values won't change every object in the scene that shares this material.
Secondly: We have our ideal range variables, our PERFECT point is our "Good" range. while any value that exceeds our MAX or MIN, will be rounded to our worse "Bad" range value.

And my start function:

With this, all I need to do is compare my distanceToTarget float against my perfect value, linearly interpolate this value to be between 1 and 0, depending on which end of the scale it is on, then pass this 0-1 value to my material. Easy!

Here we have it in motion.
Hopefully what I am going for isn't too confusing, but perhaps this next example will settle things.
I made a targeting system! This evaluates all the entities within a range based on the distance to the entity, and how close the centre of the camera is to them. After selecting an entity, it will make the object the LookAt target, and force the camera behind the player.
It feels silly to describe it in 2 sentences, this took a lot of time, debugging and figuring out the vector maths behind it, I tried in some sense to give it a dark souls camera type feel and I am quite proud of it!
I'll leave the full script below, note cinemachine has been used here to various effects:

With my targeting system created, I was ready to start my next shading adventure, here I investigated an outline shader.

And actually... It was relatively simple given everything I had learned. So this outliner shader, as seen above utilises something called a stencil buffer. This allows me to store additional data for my material before its rendering pass.
Here is the code block for the outline segment, it uses an unlit shader to draw the object, and using a size value, it will draw each vertex of the object slightly further out from its vertex normal. Essentially drawing a slightly larger version of the object, and drawing it underneath.

The rest of the shader code renders the object as normal, bar for a little extra piece of code that references a stencil once again.

Hopefully, everything I said here makes sense, I am after all quite new to this, none the less this shader is rather simple, and I have been enjoying tweaking it. In more detail than most might perhaps.
After all, the thread I referenced for guidance offered some issues of its own, by opting to "pass replace", objects sharing this shader would intersect, and interrupt the outline. In some cases this is good, in most, it is not. This effect can be seen below.

It's not just me running into this issue though, while checking out Gunfire Reborns 1.0 update, I noticed their shader likely uses this exact same method. It even has the same intersecting issue! Though that may just be a stylisation choice.

So by essentially changing a 1 to a 0, I solved this issue to my preference.

Final Notes:
As you can see I have added functionality for colouring this outline, I also added Unity's own post-processing bloom effects. So to send the blog off with where I ended today's day of work. Here's my final (for now) targeting/shader system.
I wanted to make a full blog dedicated to HLSL, but it got out of hand so incredibly quickly. I keenly noticed I was filling up on screenshots and gifs, I didn't want to go forgetting any of it by the time I was done! So I'll keep at it, I'm just glad to get an update out.
Thanks for reading, till next time!